

how to re install directx
Microsoft DirectX is a suite of programming interfaces capable of allowing software to communicate with a computer's hardware. DirectX has been designed to be used for multimedia purposes – be it audio or video, be it for rendering video and audio for a game or be it for rendering video and audio for a video file. The purpose of DirectX is to basically allow Microsoft platforms such as the Windows Operating System to smoothly and effectively communicate with a computer's graphics and audio hardware to provide the user with the best multimedia experience possible. DirectX has been a constant throughout all of the different forms the Windows Operating System has taken, with different, newer versions of DirectX being bundled with newer iterations of Windows.
As is the case with all other Windows components, however, things can spontaneously go awry with DirectX, and when they do, the user faces a host of different multimedia problems on their computer. From being locked out of their favorite games to not being able to play video or even audio files, there's a lot you have to lose if DirectX stops working as it is supposed to. In the event that DirectX does break, there's a lot you can do to try and fix it – first and foremost, you should run an SFC scan as DirectX files are classified as system files, and an SFC scan is designed to scan for and fix problems with system files on a Windows computer.
If an SFC scan doesn't fix the problem, however, reinstalling DirectX becomes the recommended course of action for you. On every version of Windows, though, DirectX is integrated into the Operating System and is a part of it, so completely uninstalling it and then reinstalling it is simply not possible. There are, however, other ways to get the job done. If you want to reinstall DirectX on a Windows computer, the following are the two best ways you can go about doing so:
Method 1: Repair installing DirectX using the DirectX End-User Runtime Web Installer
On all versions of Windows that are currently supported by Microsoft, DirectX is installed via Windows Update and updates for DirectX are shipped through Windows Update as well. There exists, however, a redistributable installer package for DirectX that Windows released back in 2010. This redistributable can be used to repair install DirectX – doing so overwrites all DirectX files on a Windows computer with fresh ones, getting rid of damaged or corrupted ones, which is the ambition of a reinstallation. To repair install DirectX on a Windows computer using the DirectX End-User Runtime Web Installer, you need to:
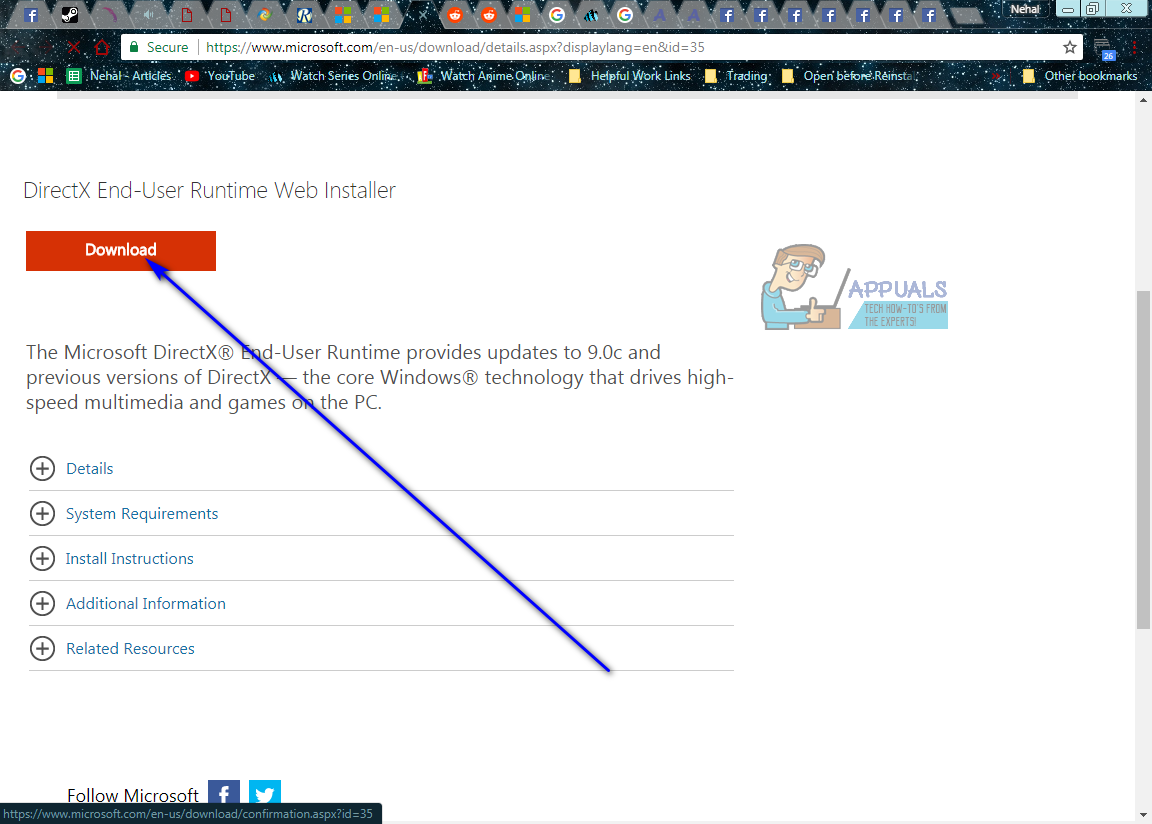
- Gohere, click onDownloadand follow the onscreen instructions to download theDirectX End-User Runtime Web Installer.
- Once theDirectX End-User Runtime Web Installerhas been downloaded, navigate to where you saved it and run it.
- Follow the onscreen instructions, and the downloaded installer will unpack all of theDirectX End-User Runtime Web Installer's files and place them in a directory of your choosing.
- Navigate to the folder you had the downloaded installer unpack theDirectX End-User Runtime Web Installer's files to, locate a file namedDXSETP.exeand double-click on it to run it.
- Follow the onscreen instructions and prompts to get through the wizard, at the end of which the DirectX on your computer will be successfully repaired/reinstalled.
Once the repair installation is done and dusted, you are free todeletethe folder full of the DirectX End-User Runtime Web Installer's files created by the installer you downloaded off Microsoft's website.
Method 2: Roll back the version of DirectX you have and then update it
Another way you can basically achieve everything you do when you uninstall and then reinstall something, in the context of DirectX on a Windows computer, is to roll back the version of DirectX you have to an older version, and then update it to the latest available version. In order to do so, you need to:
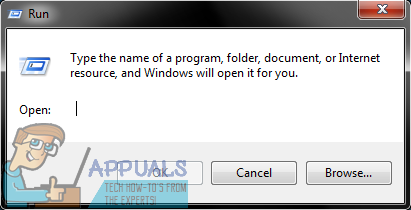
- Press theWindows Logokey +R to open aRundialog.
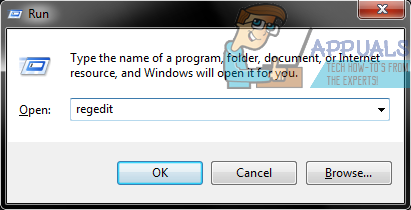
- Typeregeditinto theRundialog and pressEnterto launch theRegistry Editor.
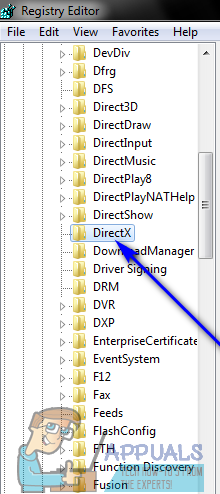
- In the left pane of theRegistry Editor, navigate to the following directory:
HKEY_LOCAL_MACHINE > SOFTWARE > Microsoft - In the left pane of theRegistry Editor, click on theDirectXsub-key under theMicrosoftkey to have its contents displayed in the right pane.
- In the right pane of theRegistry Editor, locate a registry value titledVersionand double-click on it toModify it.
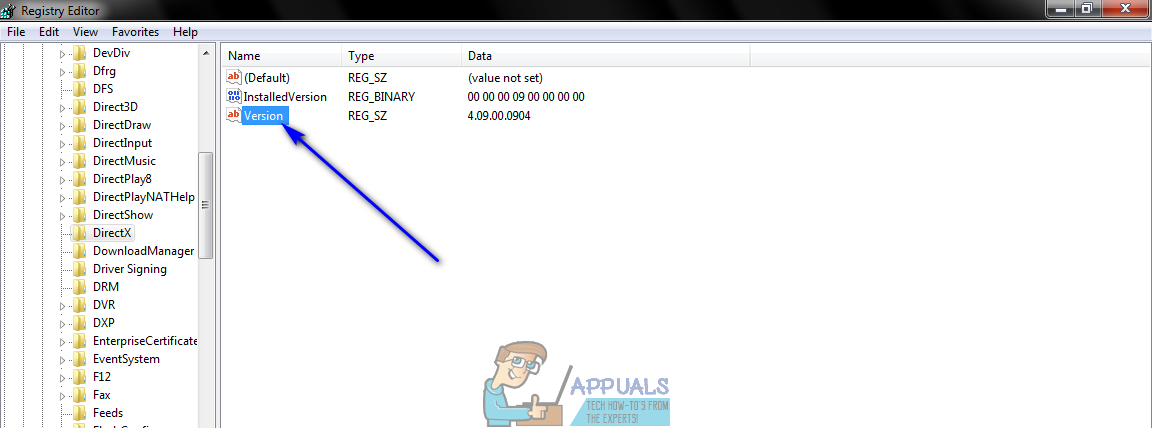
- Replace 4.09.00.0904 in theValue data: field with4.08.00.0904 and click onOK. Doing so will roll back the version of DirectX you have on your computer to an older version, or at least that's what Windows will believe has happened.
Note: The values described in this step are exclusive to Windows XP, Windows Vista and Windows 7. This method can also be used on newer versions of Windows, but the values will differ – all you have to do, though, is simply change the value for whatever version of DirectX you have to the value of an older version.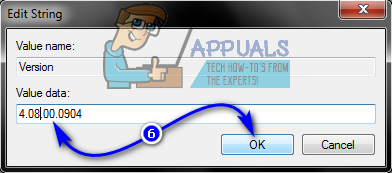
- Close theRegistry Editor.
- Now, all you need to do is try to install DirectX – doing so will cause Windows to see that you apparently have an older version of DirectX on your computer, and Windows will install the latest available version for your computer to remedy the situation. This can be accomplished by runningWindows Updateor by running theDirectX End-User Runtime Web Installeras described inMethod 1.

Kevin is a dynamic and self-motivated information technology professional, with a Thorough knowledge of all facets pertaining to network infrastructure design, implementation and administration. Superior record of delivering simultaneous large-scale mission critical projects on time and under budget.
how to re install directx
Source: https://appuals.com/how-to-reinstall-directx-on-a-windows-computer/
Posted by: elledgewiturver1996.blogspot.com
0 Response to "how to re install directx"
Post a Comment